AuditWizard - Using AuditWizard - Running the Scanner in Interactive Mode
From Layton Support
(Difference between revisions)
(New page) |
(Completed section) |
||
| (3 intermediate revisions by one user not shown) | |||
| Line 5: | Line 5: | ||
=Configuration= | =Configuration= | ||
| − | + | The interactive mode applies to the Scanner, not the Agent, and is configured in '''[[AuditWizard - Using AuditWizard - Administration - Auditing - AuditScanner Configuration#Scanner Mode|the Scanner settings]]'''. | |
| − | + | ||
| − | + | ||
| − | + | ||
| − | + | ||
| − | + | ||
| − | + | ||
=Scanner Procedure= | =Scanner Procedure= | ||
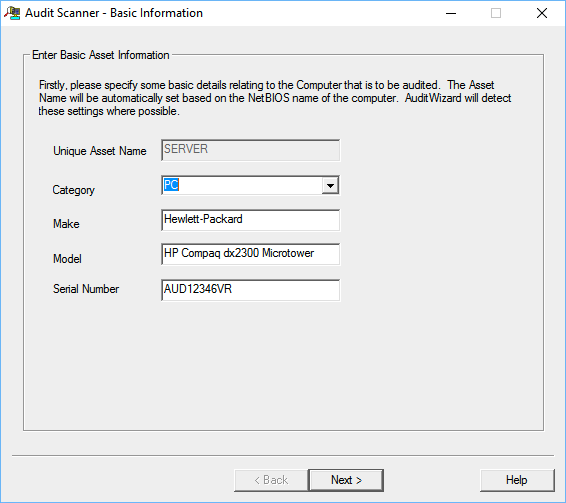
| + | #Fill out the information that will appear in the '''[[AuditWizard - Using AuditWizard - Network View#Basic Information|Basic Information tab in Network View]]'''. Fill out the form and click the ''Next >'' button.<br /><p>[[File:Aw scanner interactive dialog 01.png|link=]]</p><br /> | ||
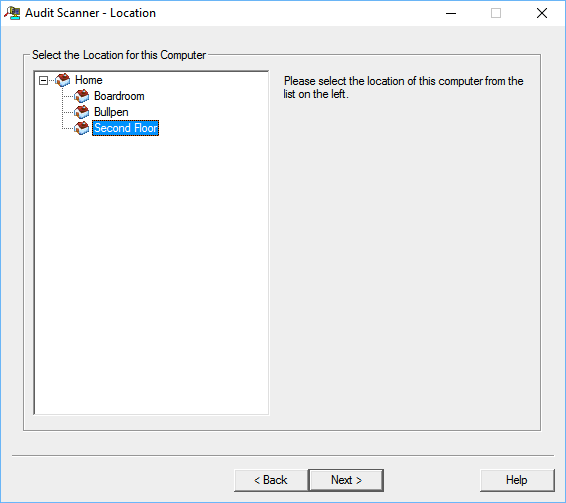
| + | #Click the appropriate location in '''[[AuditWizard - Using AuditWizard - Administration - Data Setup - Location Structure|the location tree]]''' for where this computer is located and click the ''Next >'' button.<br /><p>[[File:Aw scanner interactive dialog 02.png|link=]]</p><br /> | ||
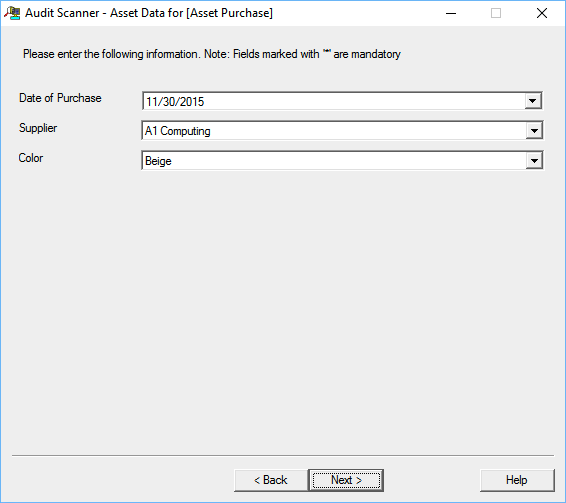
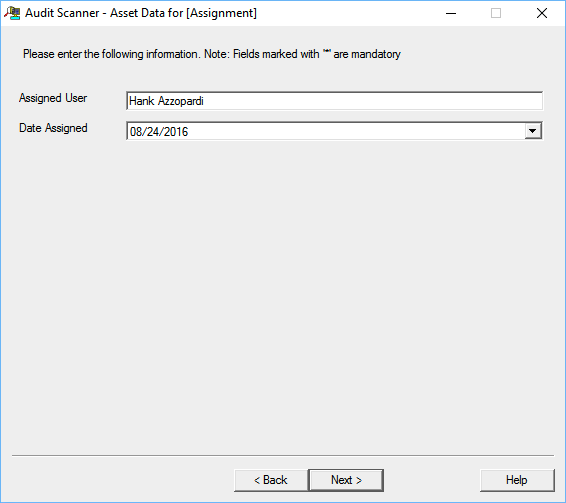
| + | #For every '''[[AuditWizard - Using AuditWizard - Administration - Data Setup - User Defined Data#User-Defined Data Category|User-Defined Data Category]]''', there will be a separate page. Fill out the form and click the ''Next >'' button.<br /><p>[[File:Aw scanner interactive dialog 03.png|link=]]</p><br /><p>[[File:Aw scanner interactive dialog 04.png|link=]]</p><br /> | ||
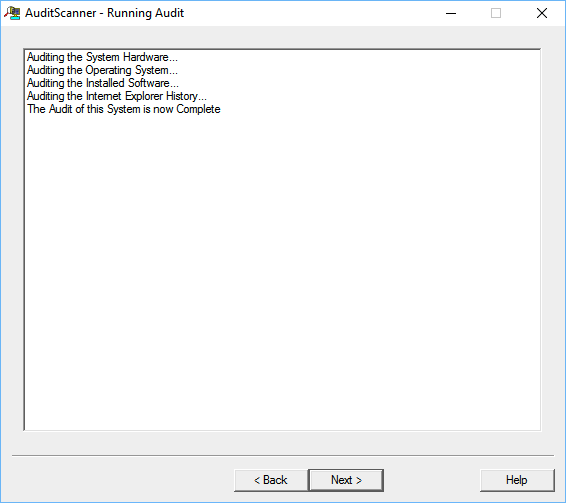
| + | #The audit will be completed, with feedback on this page. When it's completed, click the ''Next >'' button.<br /><p>[[File:Aw scanner interactive dialog 05.png|link=]]</p><br /> | ||
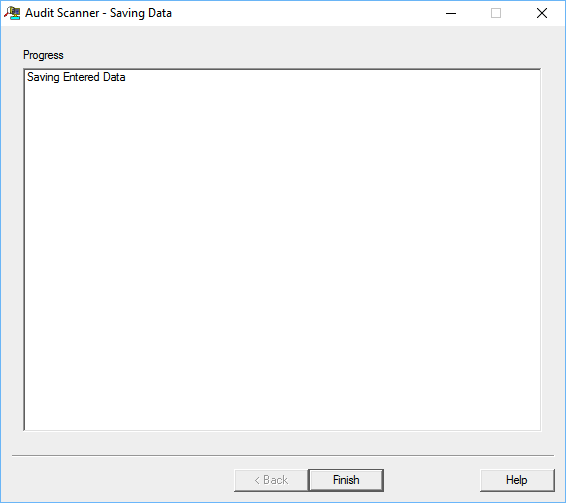
| + | #The data will be saved to the network share. Click the ''Finish'' button and the dialog will close.<br /><p>[[File:Aw scanner interactive dialog 06.png|link=]]</p><br /> | ||
Latest revision as of 05:34, 29 November 2016
Contents |
[edit] Overview
The Scanner can be run in interactive mode, prompting the user to enter information to fill certain fields instead of automatically auditing them.
[edit] Configuration
The interactive mode applies to the Scanner, not the Agent, and is configured in the Scanner settings.
[edit] Scanner Procedure
- Fill out the information that will appear in the Basic Information tab in Network View. Fill out the form and click the Next > button.
- Click the appropriate location in the location tree for where this computer is located and click the Next > button.
- For every User-Defined Data Category, there will be a separate page. Fill out the form and click the Next > button.
- The audit will be completed, with feedback on this page. When it's completed, click the Next > button.
- The data will be saved to the network share. Click the Finish button and the dialog will close.