AuditWizard - Using AuditWizard - Administration - Auditing - AuditAgent Configuration
Contents |
Overview
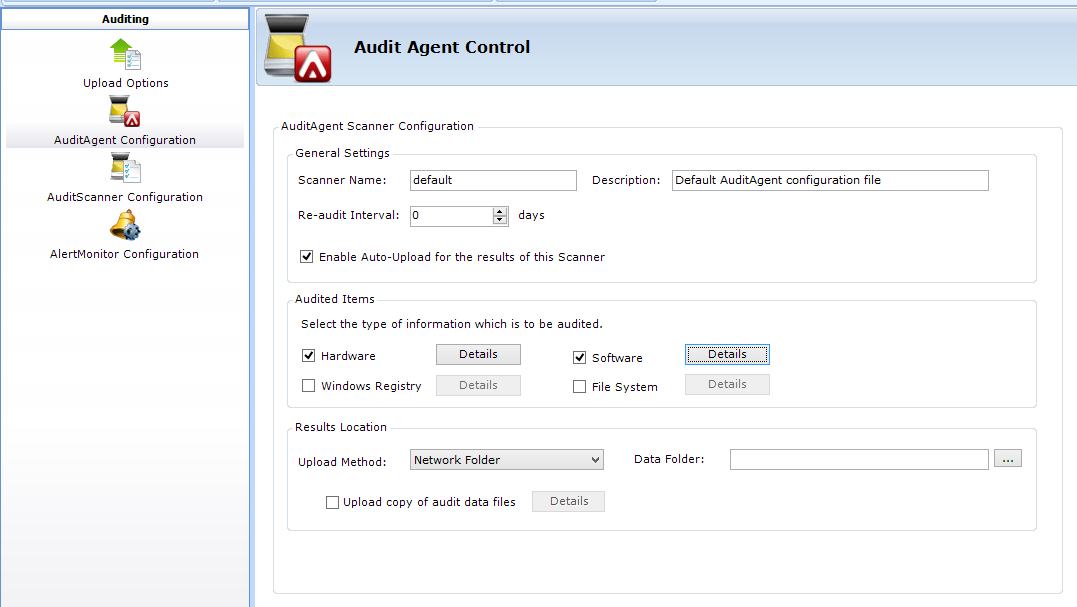
Audit Agent settings are entered here.
Multiple Configurations
It's possible to have different configurations for different purposes. For example, you may want to look for .MP3 files on client computers (File System option) but because access to servers is controlled and unlikely to have .MP3 files, you don't need to audit them. Perhaps you want to reduce the amount of processor time used by the Agent on servers and as their hardware and software doesn't change often, you audit them more infrequently than client computers.
When deploying or updating the Agent, you will be given the option of specifying a specific configuration.
Ribbon Commands

Scanner Configuration
| Setting | Description |
|---|---|
| New Configuration | Asks you to save the current configuration, if desired, then a set of defaults is displayed for modification, to become the new configuration. |
| Load Configuration | Load a saved configuration. |
| Save Configuration | Save the currently displayed settings with the name that appears in the Scanner Name field. If it already exists, you will be asked to confirm. |
AuditAgent Deployment
Update AuditAgents: The new configuration file will be sent to computers that have the Agent deployed. This does not stop or update the Agent itself, just copies the configuration file to the client.
Instant Settings
These settings are the minimum you need in order to use the Agent.
- Go to Administration > Auditing > AuditAgent Configuration.
- Enter the name of the data folder in your network share in UNC format, \\SERVER\SHARE\Data, in the Data Folder field.
- Click the Save Configuration button. This saves the configuration with the name in the Scanner Name field.
- Deploy Agents in Network View. The new configuration will be saved to the clients.
Advanced Settings
General Settings
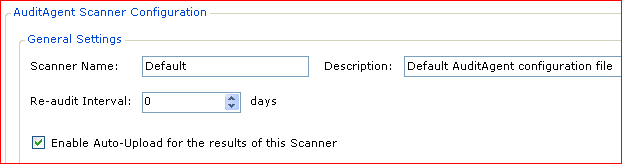
Scanner Name
The name for the Agent you are currently running. In addition to the technique of clicking the New Configuration button as noted above, you can create additional configurations by changing the Agent name, then saving it, which saves a copy with the new name.
Description
Description of the currently loaded Agent configuration.
Re-audit Interval
The number of days that will pass before another audit is done. 0 is used to indicate that an audit will be done every day.
Enable Auto-Upload for the results of this Scanner
There is a global setting that you can use to enable or disable automatic uploading in Upload Options. If you want to disable an individual configuration, load the configuration, uncheck this option and save the configuration.
Audited Items
Hardware
Various attributes of the computer.

Physical Disk Drives
Disk drives (not virtual or partitions) attached to the computer.
Network Drives
Drives hosted on the network that the computer has access to.
Active System Components
Windows services, user accounts and running processes.
Security Settings
If a firewall is installed, whether automatic updates are enabled.
Settings
Environment strings.
Software
Audits the software on a computer.
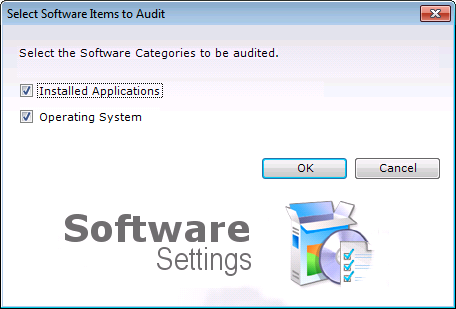
Installed Applications
Applications that appear in Windows Programs and Features.
Operating System
Operating system details.
Windows Registry
You can specify registry keys.
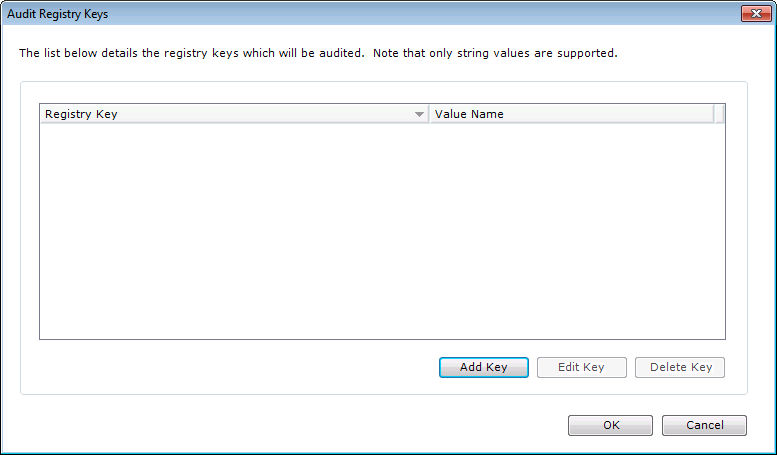
Procedure
- Click the Windows Registry checkbox and click the Details button. The Audit Registry Keys dialog will open.
- Click the Add Key button.
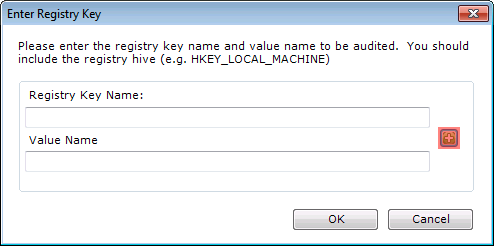
- The Enter Registry Key dialog will open. Click the Add button
 .
.
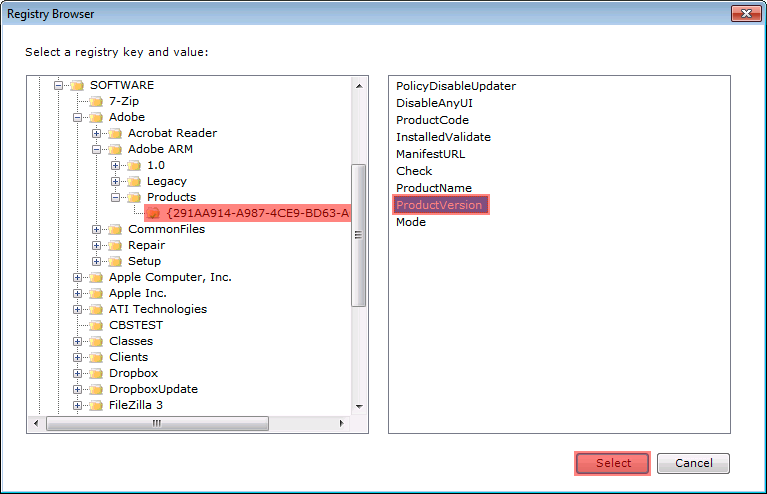
- The Registry Browser will open. Navigate to the key that you want to audit, expand it, and click the value in the right-hand pane. Click the Select button.
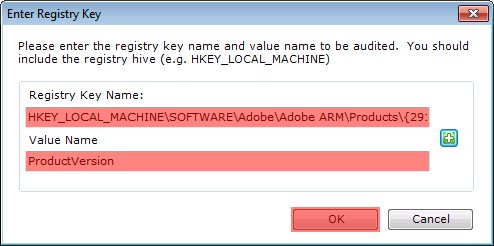
- The Registry Key Name and Value Name fields will be populated with the Registry key. Click the OK button to save.
File System
This feature will return a list of files. Scanning in this sense means to look for and itemise files based on a defined scope. An use case would be to look for media files that you don't want users to store on their computers.
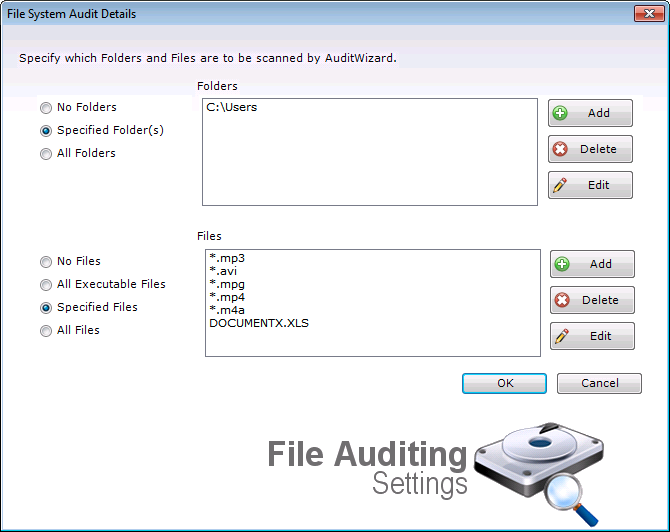
Folders
The scope of the file scanning is defined in this section.
No Folders
This setting will not scan any folders on the system, effectively disabling the File System feature.
Specified Folders
A number of folders can be specified. Limiting the number of folders to be scanned will reduce auditing time.
All Folders
All folders will be scanned.
Files
In this section, the file types are defined.
No Files
This setting will not scan any files on the system, effectively disabling the File System feature.
All Executable Files
Any file that can be executed, like .bat or .exe, will be scanned.
Specified Files
A number of files can be specified. If a file type is desired, begin the file name with an asterisk *, e.g. *.mp3. Entering .mp3 will not match a file. Specific filenames can also be entered, such as DOCUMENTX.XLS.
All Files
All files will be scanned. This will significantly increase audit times and data storage in the database.
Results Location
Here is where you can specify where the audits will go once a PC has been scanned. There are two different methods to send the results of the audit.

Network Folder
The Data folder should be specified in UNC path notation. Users and Admins will need Full Access to the folder.
FTP Site
For off-site assets that cannot connect to the network. The audits upload to an FTP site, for later download to the server. Click Details and the following window will be displayed:
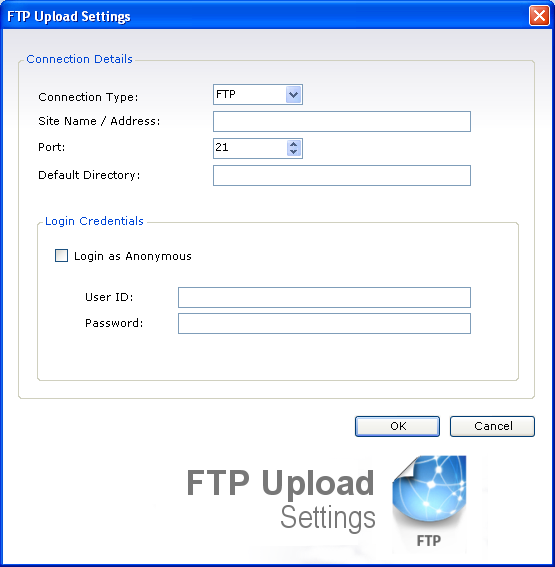
Enter the Connection Type, Address, Port, Default Directory, and Login Credentials. Click OK to save the FTP settings.