AuditWizard - Getting Started - Pre-Installation - Network Share
From Layton Support
Contents |
Overview
AuditWizard uses a network share to collect audit files produced by the Scanner and Agent. It uploads from this location.
It should have its own network share in the format \\SERVER\SHARE. It is not recommended to nest the share in an existing share, e.g. \\SERVER\SHARE1\SHARE2\SHARE, as this can create issues with inherited permissions. A good place to put the share folder is in C:\. The permissions are open but the data is to all intents and purposes non-confidential.
When you deploy the Scanner, AuditWizard will create two folders within the share:
- data: The folder into which audit files will be written
- scanner: This folder will contain, at a minimum, AuditScanner.exe, the Scanner executable and AuditScanner.xml the configuration file. Additional files may be written if USB and Mobile scanning options are configured.
No additional folders or files should be stored in the share.
Procedure
Windows Server 2008
- Create a folder for sharing (e.g. C:\$aw) and get Properties.
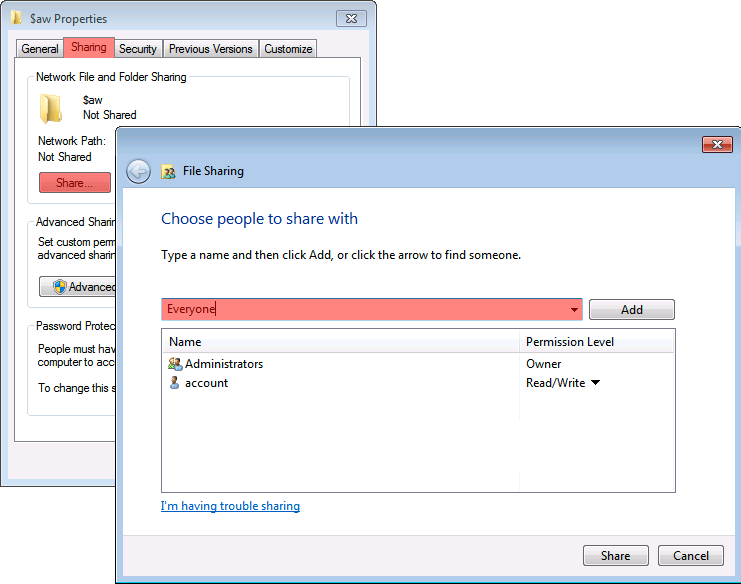
- Click the Sharing tab. Click the Share... button.
- Enter Everyone in the field and click the Add button. Change the Permission Level for Everyone to Read/Write.
- Click the Share button.
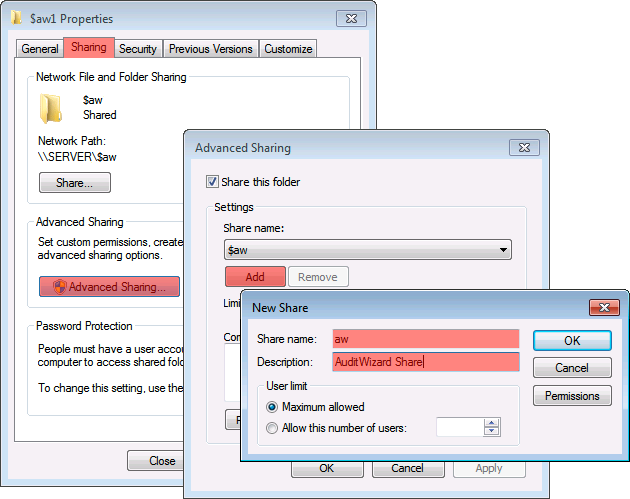
- Click the Advanced Sharing button.
- Click the Add button.
- Enter aw in the Share name field and AuditWizard Share in the Description field.
- Click the Permissions button.
- Click Everyone and check Full Control > Allow.
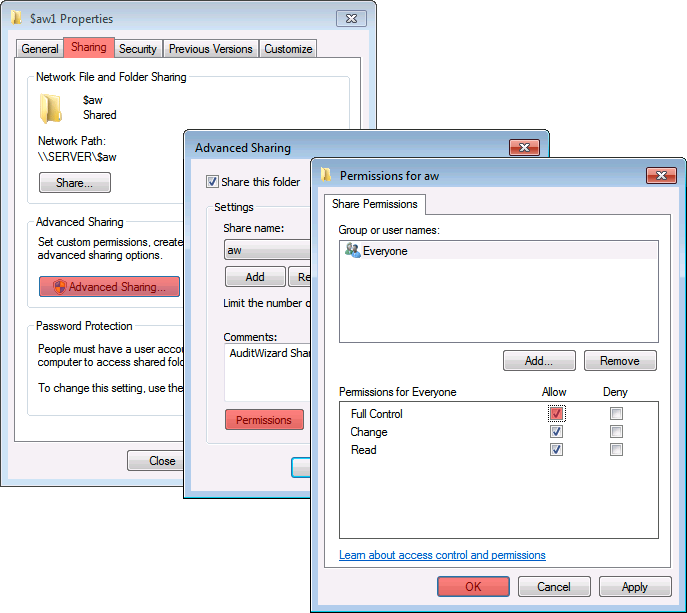
- Click OK.
- In the Advanced Sharing dialog, select the share name $aw in the Share name menu.
- Click the Remove button.
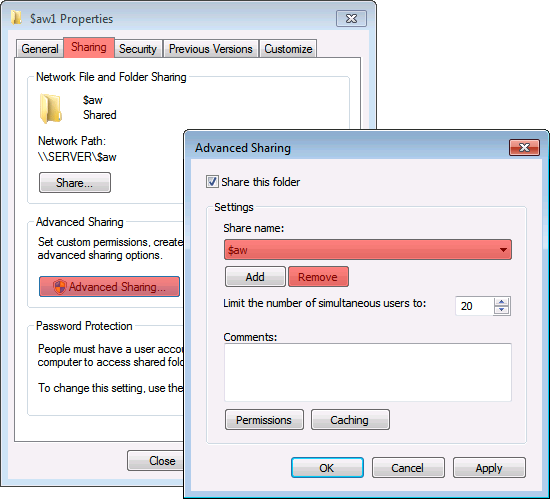
- Click OK, then close the Properties dialog.
Windows Server 2003
- Create a folder for sharing (e.g. C:\$aw) and get Properties.
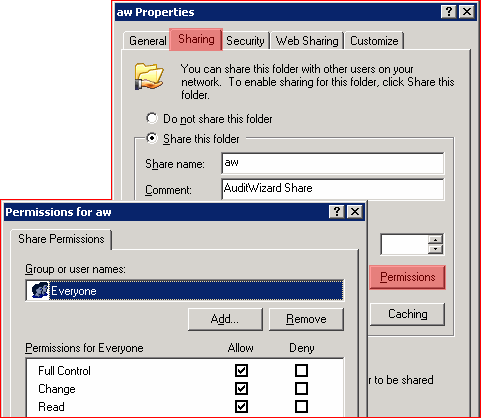
- Click the Sharing tab. Click the Share this folder radio button. Enter the share name (a short name containing only letters and numbers). Enter a comment to describe the share.
- Click the Permissions button. Everyone will be present. This is the only account you should specify—don't add any others. Click the Full Control, Allow checkbox, then the Apply and OK buttons.
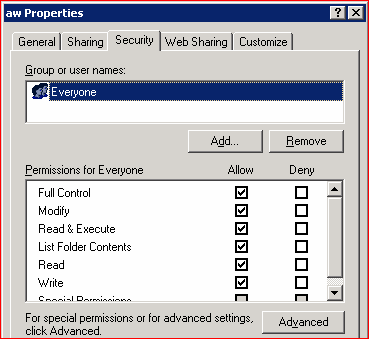
- Click the Security tab. Click the Add… button. Enter Everyone and click the Check Names button, then OK.
- Select Everyone and check the Full Control checkbox in the Allow column. Click the Apply button.
- Click the Advanced button. Uncheck Allow inheritable permissions from the parent to propagate to this object and all child objects. Include these with entries explicitly defined here. Click the Remove button in the confirmation dialog.
- Check Replace permission entries on all child objects with entries shown here that apply to child objects and click the Apply button. Confirm. Click the OK button.
- Here are the resulting security settings: