AuditWizard - Analysis Tools - Run a Trace
From Layton Support
(Difference between revisions)
m (Minor correction) |
m (Added a step to check that desired Audited Items are enabled) |
||
| Line 4: | Line 4: | ||
#In Administration > Auditing > Upload Options, check ''Globally turn off auto-upload''. | #In Administration > Auditing > Upload Options, check ''Globally turn off auto-upload''. | ||
#In Administration > Auditing > Scanner Configuration, change ''Re-audit Interval'' to 0 days. | #In Administration > Auditing > Scanner Configuration, change ''Re-audit Interval'' to 0 days. | ||
| + | #Check that all the desired '''[[AuditWizard - Using AuditWizard - Administration - Auditing - AuditScanner Configuration#Audited Items|Audited Items options]]''' are enabled. | ||
#Click the ''Save Configuration'' button and the ''Deploy to Network'' button. | #Click the ''Save Configuration'' button and the ''Deploy to Network'' button. | ||
#Log into the test computer as a domain admin. | #Log into the test computer as a domain admin. | ||
Revision as of 22:17, 12 December 2016
This procedure will run the Scanner in logging mode, producing a log file useful for debugging why individual computers do not produce a usable .ADF audit file.
- In Administration > Auditing > Upload Options, check Globally turn off auto-upload.
- In Administration > Auditing > Scanner Configuration, change Re-audit Interval to 0 days.
- Check that all the desired Audited Items options are enabled.
- Click the Save Configuration button and the Deploy to Network button.
- Log into the test computer as a domain admin.
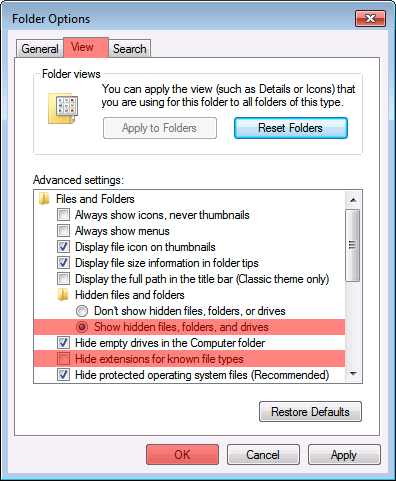
- Go to Start > Control Panel > Folder Options. Click the View tab. Change the following settings:
- Files and Folders > Hidden files and folders: Show hidden files and folders
- Files and Folders > Hide extensions for known file types: uncheck
- Click the OK button.
- Open Task Manager so that you can monitor when the Scanner stops running.
- Go to Start > Run. Enter
\\SERVERNAME\AUDITWIZARDNETSHARE\scanner\AuditScanner.exe Tand press the Enter key.
- A dialog will appear:
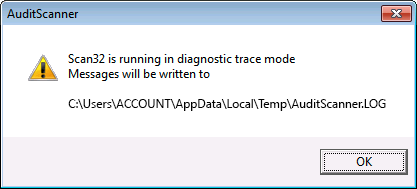
Click OK to start.
- When AuditScanner.exe disappears from Task Manager, it has completed and quit.
- Navigate to C:\Users\YOURUSERNAME\AppData\Local\Temp\. Move AuditScanner.LOG to \\SERVERNAME\AUDITWIZARDNETSHARE\data\ for easy collection.
- Navigate to \\SERVERNAME\AUDITWIZARDNETSHARE\data\.
- Collect the following set of files:
- NAME.adf (if created)
- Log from step 10.
- In Administration > Auditing > Upload Options, uncheck Globally turn off auto-upload.
Zip the files and send to Support for analysis.