Layton ServiceDesk - Settings - Libraries - Request Templates
From Layton Support
(Difference between revisions)
m (Minor formatting changes) |
(Major revision) |
||
| (8 intermediate revisions by one user not shown) | |||
| Line 1: | Line 1: | ||
| − | <p align="right">[[File:btn_back_up.png|link=User Guide for Layton | + | <p align="right">[[File:btn_back_up.png|link=User Guide for Layton ServiceDesk]] [[User Guide for Layton ServiceDesk|<u>Back to Contents</u>]]</p> |
| − | + | <p align="right">[[File:btn_back_up.png|link= Layton ServiceDesk - Settings - Libraries - Request Statuses]] [[Layton ServiceDesk - Settings - Libraries - Request Statuses |<U>Previous article in this series: ''Request Statuses''</u>]]</p> | |
| + | __FORCETOC__ | ||
| + | =Overview= | ||
| + | ''Request Templates'' allow you to pre-define Request information that can be dropped into the Request form by using the apply templates icon when entering a Request or via the QuickAction menu. The Request Template uses the same form definition as the Analyst Request form and any information specified in the Template will populate the same fields when applied. Any blank fields in the Template will not overwrite fields in the Request. | ||
| − | + | [[File:Lsd req template 01.png|center|link=]] | |
| − | + | =Procedure= | |
| − | + | #Go to '''Administration > Libraries > Request Templates''' | |
| − | + | #Click the Add button [[File:Lsd btn plus.png|link=]]. | |
| − | + | #If you are using Request Classes, a dialog will appear. Select a Request Class and click the Confirm button [[File:Lsd btn confirm 24px.png|link=]].<br /><p>[[File:Lsd req template 02.png|link=]]</p><br /> | |
| − | Next article in this series: '''[[Layton | + | #The Request form for the specified Request Class will appear. Fill out the fields that should be populated when the template is applied. The only tabs that can be populated are ''Problem Desc'' and ''Solution Desc''.<br /><p>[[File:Lsd req template 03.png|link=]]</p><br /> |
| − | <p align="right">[[File:btn_back_up.png|link=User Guide for Layton | + | #Click the Save button [[File:Lsd btn save.png|link=]]. |
| + | #The new Template will be saved with the name ''New Template''. This isn't descriptive, so it can be renamed. In the ''Edit'' column for the new Template, click the Edit button [[File:Lsd btn edit 16px.png|link=]]. | ||
| + | #Enter the new name and click the Save button [[File:Lsd btn save.png|link=]]<br /><p>[[File:Lsd req template 04.png|link=]]</p><br /> | ||
| + | <p align="right">[[Layton ServiceDesk™ - Settings - Libraries - Task Types|<U>Next article in this series: ''Task Types''</u>]] [[File:Btn forward.png|link=Layton ServiceDesk - Settings - Libraries - Task Types]]</p> | ||
| + | <p align="right">[[File:btn_back_up.png|link=User Guide for Layton ServiceDesk]] [[User Guide for Layton ServiceDesk|<u>Back to Contents</u>]]</p> | ||
Latest revision as of 01:27, 13 July 2016
![]() Previous article in this series: Request Statuses
Previous article in this series: Request Statuses
Contents |
[edit] Overview
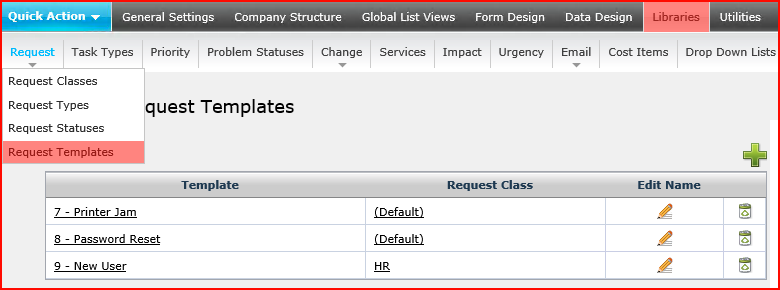
Request Templates allow you to pre-define Request information that can be dropped into the Request form by using the apply templates icon when entering a Request or via the QuickAction menu. The Request Template uses the same form definition as the Analyst Request form and any information specified in the Template will populate the same fields when applied. Any blank fields in the Template will not overwrite fields in the Request.
[edit] Procedure
- Go to Administration > Libraries > Request Templates
- Click the Add button
 .
.
- If you are using Request Classes, a dialog will appear. Select a Request Class and click the Confirm button
 .
.
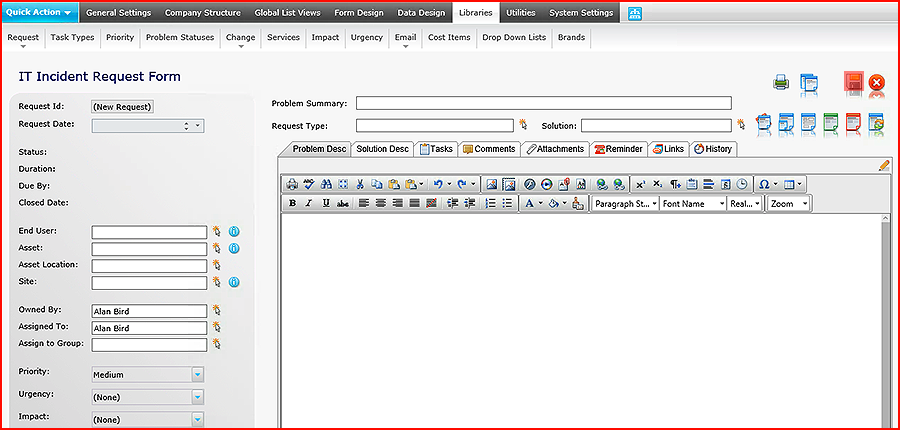
- The Request form for the specified Request Class will appear. Fill out the fields that should be populated when the template is applied. The only tabs that can be populated are Problem Desc and Solution Desc.
- Click the Save button
 .
.
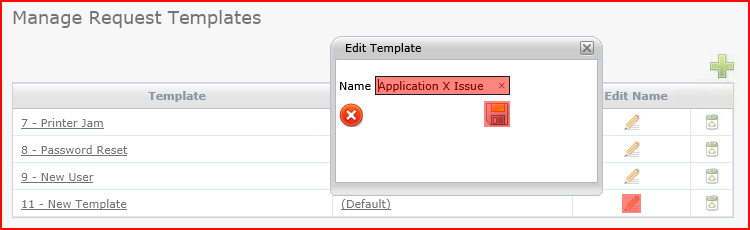
- The new Template will be saved with the name New Template. This isn't descriptive, so it can be renamed. In the Edit column for the new Template, click the Edit button
 .
.
- Enter the new name and click the Save button