Layton ServiceDesk - Installation - Connect to Existing Database
From Layton Support
If for any reason you need to re-install Layton ServiceDesk on a separate computer, you can use the Connect to Existing Database option to connect to your existing Layton ServiceDesk database. This will not overwrite any database. If you need to reinstall, you will not lose any form designs or login screen layouts as these are stored in the Layton ServiceDesk database.
You may have been sent a database by Layton Technology that has been upgraded from HelpBox. If you haven't done so already, restore the database to your SQL Server. We suggest that you use the default database name LaytonServiceDesk. If your database has been upgraded by us, it may have a different name.
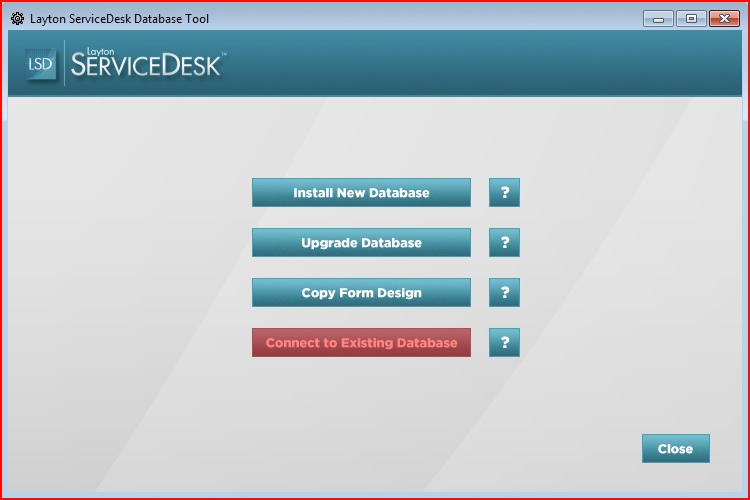
- Launch the Database Tool (DBTool.exe, located in C:\Program Files\Layton Technology\Layton ServiceDesk\DBTool\), or it will appear during installation.
- Click the Connect to Existing Database button. Note: You will get a connection error because the wrong server name will be pre-populated due to a current bug. Close the dialog and continue:
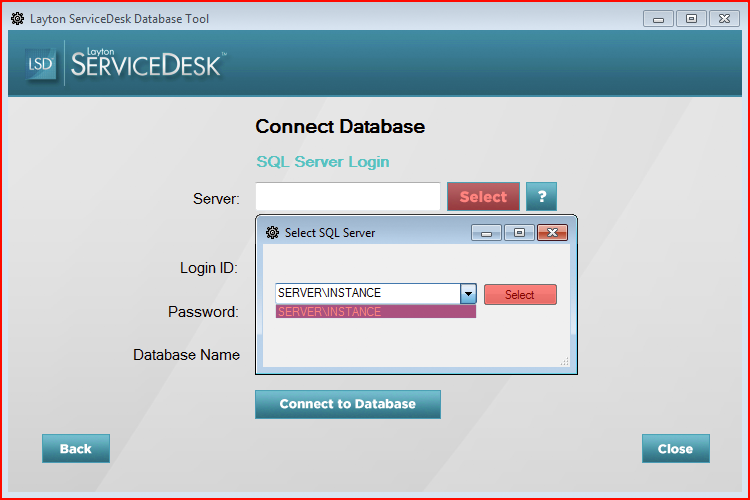
- Click the Select button and select the SQL Server name where you are hosting the database. Click the Select button to populate the Server field:
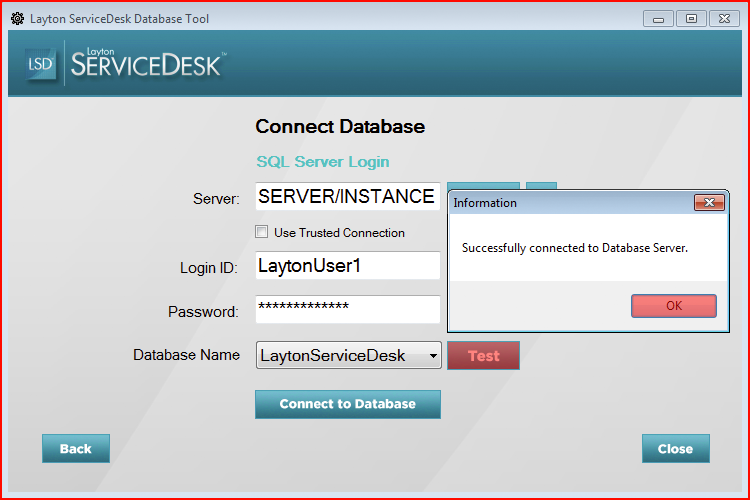
- You will be using the provided SQL user LaytonUser1. Select the database name if not correct. Click the Test button to test the connection to the SQL Server with the provided details. If successful, a dialog will confirm:
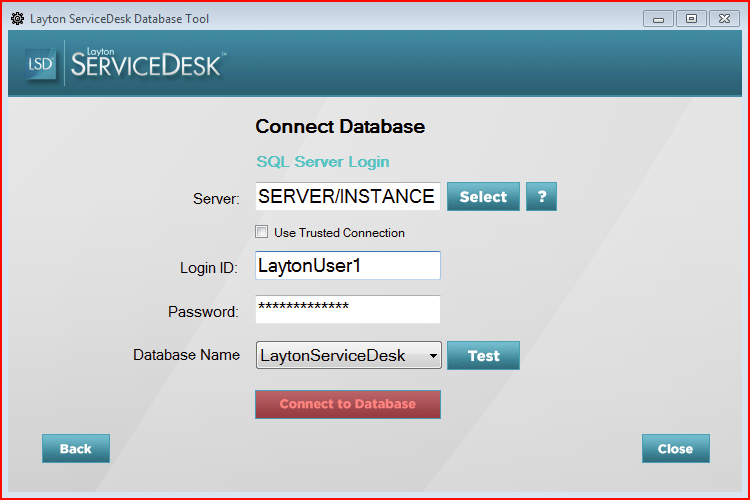
- Click the Connect to Database button:
- Upon confirmation, click the OK button and close the Database Tool:
- In the Windows Services console, restart the World Wide Web Publishing Service.