Layton ServiceDesk - Pre-Installation - ASP.NET Configuration
From Layton Support
Contents |
IIS 5 (Windows XP)
- Launch Internet Information Services (IIS) Manager.
- Expand Server > Web Sites > Default Web Site. Right-click LaytonServiceDesk and select Properties. Click the ASP.NET tab:
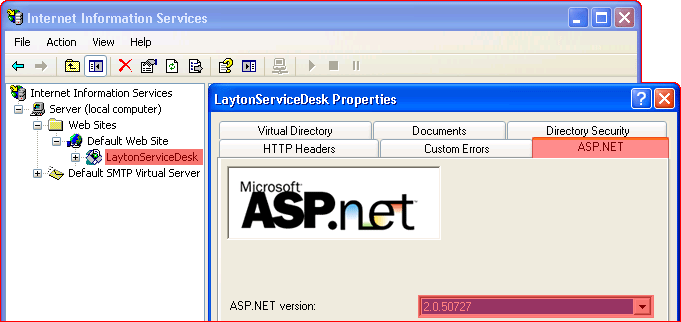
- Set the ASP.NET version to 2.0.50727.
- Click the OK button. Restart the IIS service and close the IIS Manager.

IIS 6 (Windows Server 2003)
- Launch Internet Information Services (IIS) Manager.
- Expand Server > Web Sites > Default Web Site. Right-click LaytonServiceDesk and select Properties. Click the ASP.NET tab:
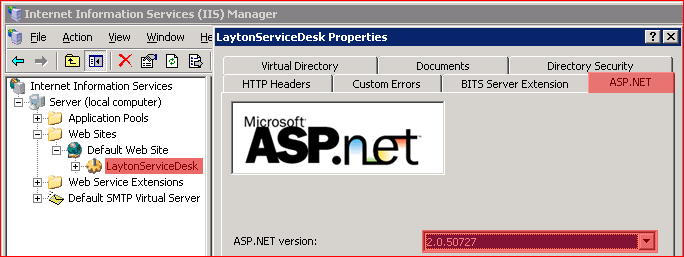
- Set the ASP.NET version to 2.0.50727.
- Click the OK button. Restart the IIS service and close the IIS Manager.

IIS 7 (Windows 7/Server 2008)
- Launch Internet Information Services (IIS) Manager.
- Click Application Pools in the left-hand pane. Click DefaultAppPool in the middle pane. Click Basic Settings... in the right-hand pane:
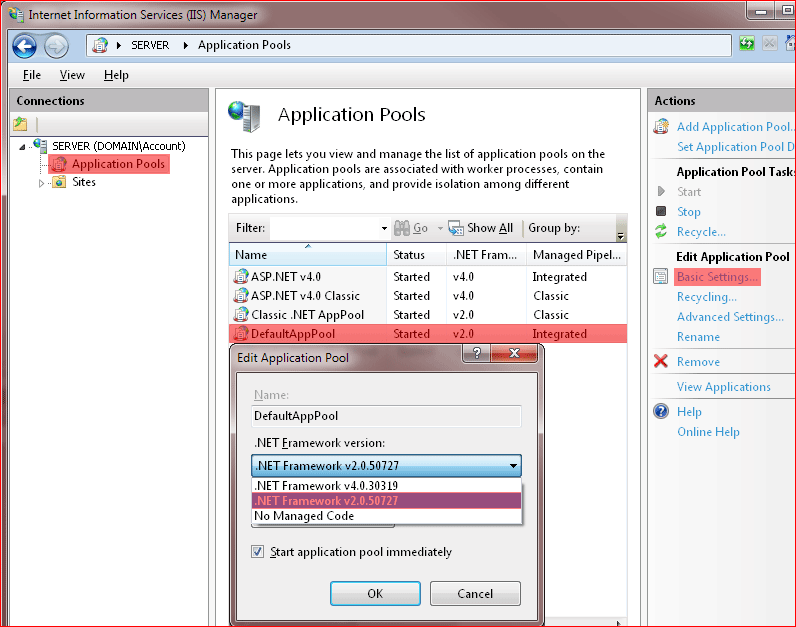
- Set the ASP.NET version to 2.0.50727.
- Click the OK button. Restart the IIS service and close the IIS Manager.

IIS 10 (Windows 10/Server 2017 and 2019)
- Launch Internet Information Services (IIS) Manager.
- Click Application Pools in the left-hand pane. Click DefaultAppPool in the middle pane. Click Basic Settings... in the right-hand pane:
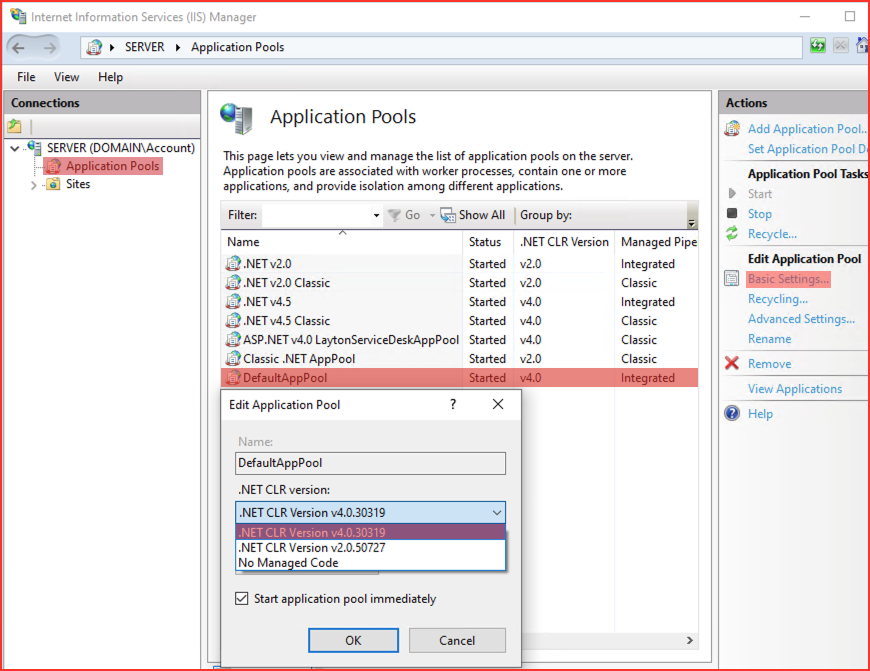
- Set the ASP.NET version to 4.0.30319.
- Click the OK button. Restart the IIS service and close the IIS Manager.
