Layton ServiceDesk - Settings - Global List View - Default Request
Contents |
Overview
This global list view is the Request list view for Analysts. It's called global because it's the default that will be applied to all new Analyst accounts. An Analyst can change their own list view configuration (reference).
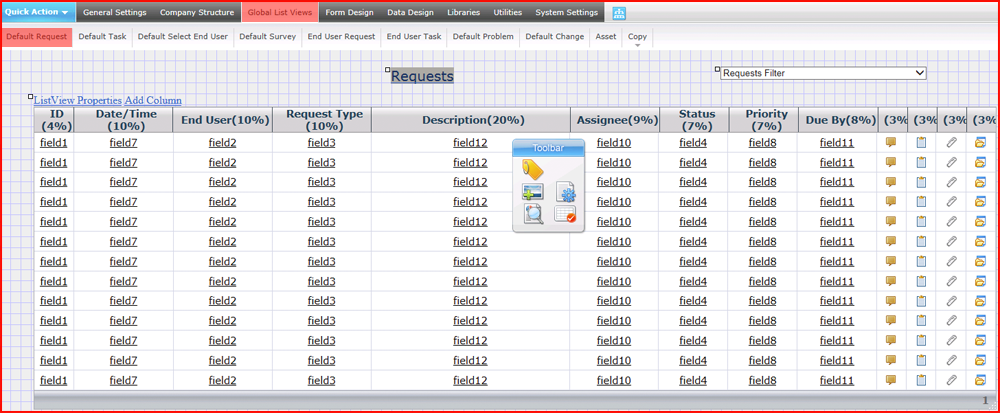
Default Columns
ID
Request ID
Date/Time
Creation Date and time
End User
The user name of the End User who logged the Request
Request Type
The Request Type assigned by an Analyst or automated process.
Assignee
The user name of the Analyst to whom the Request has been assigned.
Status
Status of the Request.
Priority
Assigned Priority.
Due By
Date and time the Request will expire, based on the Resolve Hours configured in the assigned Priority. If the Request is on hold, there will be no Due By date. If the Request has expired, the Due By date will be the date and time of expiry, regardless of whether the Request is on hold or not.
List View Properties
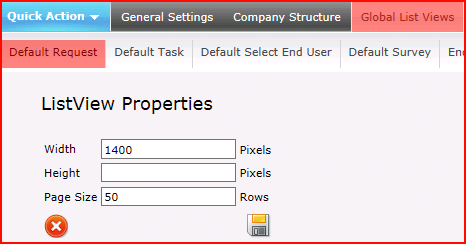
The list view properties allow you to set the width, height and page size (number of rows) in the list view.
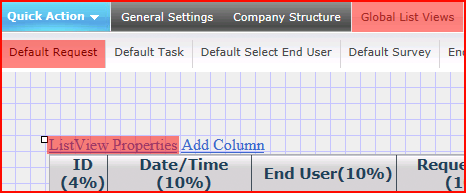
Click the List View Properties link to open the Properties page:
| Setting | Description |
|---|---|
| Width | Width of the list view table in pixels |
| Height | Height of the list view table in pixels. If left blank, the list view will display the number of rows specified in Page Size. If the height is set to a pixel value that is less than will be required to display the number of rows specified in the page size then a scroll bar will be displayed. |
| Page Size | Number of rows per page |
Heading & Position Changes
The form title and the position of the whole form can be moved by dragging the small square handle at the top left corner of each object. Selecting the title will display the title properties so you can amend any details, as required. However, care should be taken if the actual form title is being amended as this has been already defined as an Application Term. The special brackets “{{ }}” around the title denote that the title is being obtained from the field.
Adding Data Fields
To add a data field to the list view, click the Add Column link in the top-left of the list view. Then, from the field properties page, you can select the Display Table where the data field can be found. The Display Table Field can then be selected and a column heading provided in the Heading field. You may wish to set the other properties of the column such as the font type, size and color.
Editing & Deleting Data Fields
To edit or delete any existing data fields from the List View select any link in one of the rows beneath the required column. You are then presented with the Field Properties form. Delete or set any property details as required; Heading, Field Font, Field Font Size, Field Color, Column Width (in pixels or %), Field and Heading Alignment. Select “Save” to preserve your settings or changes and return to the Results Set form.
The Toolbar also provides the ability to add a label or image anywhere onto the List View form or change the page background color.