Layton ServiceDesk - Installation - New Installation - Install New Database
From Layton Support
(Difference between revisions)
m (Updated links) |
m (Minor formatting changes) |
||
| (3 intermediate revisions by one user not shown) | |||
| Line 5: | Line 5: | ||
=Procedure= | =Procedure= | ||
| − | Launch the Layton ServiceDesk Database Tool. Click ''Install New Database'': | + | #Launch the Layton ServiceDesk Database Tool (''C:\Program Files (x86)\Layton Technology\Layton ServiceDesk\DBTool\DBTool.exe''), by opening the Windows ''Start menu > Layton Technology'' and right-clicking ''DBTool.exe'' and selecting ''More > Run as administrator''. |
| − | + | #Click ''Install New Database'':<br /><p>[[File:Lsd_install_06.png|link=]]</p><br /> | |
| − | + | #Click the ''Select'' button next to the Server field. In the Select SQL Server dialog, select a SQL Server from the list, then click the ''Select'' button. This will populate the Server field in the main window.<br /><p>[[File:Lsd_install_07.png|link=]]</p><br /> | |
| − | [[File:Lsd_install_06.png|link=]] | + | #Check the ''Use Trusted Connection'' checkbox. This will authenticate as the logged-in user. This user will need to have administrative permissions on the SQL Server to continue.<br /><p>[[File:Lsd_install_08a.png|link=]]</p><br /> |
| − | + | #Click the ''Test'' button to test the connection to the SQL Server with the provided details. If successful, a dialog will confirm:<br /><p>[[File:Lsd_install_09a.png|link=]]</p><br /> | |
| − | + | #If not successful, uncheck the ''Use Trusted Connection'' checkbox and enter a SQL login ID such as ''sa'':<br /><p>[[File:Lsd_install_08b.png|link=]]</p><br /> | |
| − | Click the ''Select'' button next to the Server field. In the Select SQL Server dialog, select a SQL Server from the list, then click the ''Select'' button. This will populate the Server field in the main window. | + | #Click ''Test'' again:<br /><p>[[File:Lsd_install_09b.png|link=]]</p><br />You may need to check '''[[Layton ServiceDesk - Pre-Installation - SQL & Windows Authentication|authentication settings on the SQL Server]]'''. If you continue to have trouble, ask your SQL admin to debug the authentication issue.<br /><br />The recommended database name ''LaytonServiceDesk'' is suggested. If you are creating an additional database and a database called ''LaytonServiceDesk'' already exists, enter a different name.<br /><br />Click the ''Install Database'' button. Once complete, a dialog will confirm it:<br /><p>[[File:Lsd_install_10.png|link=]]</p><br />Click the ''OK'' button to dismiss the dialog and return to the installer. |
| − | + | #Click the ''Close'' button to exit.<br /><p>[[File:Lsd_install_11.png|link=]]</p> | |
| − | + | ||
| − | [[File:Lsd_install_07.png|link=]] | + | |
| − | + | ||
| − | + | ||
| − | Check the ''Use Trusted Connection'' checkbox. This will authenticate as the logged-in user. This user will need to have administrative permissions on the SQL Server to continue. | + | |
| − | + | ||
| − | + | ||
| − | [[File:Lsd_install_08a.png|link=]] | + | |
| − | + | ||
| − | + | ||
| − | Click the ''Test'' button to test the connection to the SQL Server with the provided details. If successful, a dialog will confirm: | + | |
| − | + | ||
| − | + | ||
| − | [[File:Lsd_install_09a.png|link=]] | + | |
| − | + | ||
| − | + | ||
| − | If not successful, uncheck the ''Use Trusted Connection'' checkbox and enter a SQL login ID such as ''sa'': | + | |
| − | + | ||
| − | + | ||
| − | [[File:Lsd_install_08b.png|link=]] | + | |
| − | + | ||
| − | + | ||
| − | Click ''Test'' again: | + | |
| − | + | ||
| − | + | ||
| − | [[File:Lsd_install_09b.png|link=]] | + | |
| − | + | ||
| − | + | ||
| − | You may need to check '''[[Layton | + | |
| − | + | ||
| − | The recommended database name ''LaytonServiceDesk'' is suggested. If you are creating an additional database and a database called ''LaytonServiceDesk'' already exists, | + | |
| − | + | ||
| − | + | ||
| − | [[File:Lsd_install_10.png|link=]] | + | |
| − | + | ||
| − | + | ||
| − | Click the ''OK'' button to dismiss the dialog and return to the installer. Click the ''Close'' button to exit. | + | |
| − | + | ||
| − | + | ||
| − | [[File:Lsd_install_11.png|link=]] | + | |
<p align="right">[[File:btn_back_up.png|link=User Guide for Layton ServiceDesk]] [[User Guide for Layton ServiceDesk|<u>Back to Contents</u>]]</p> | <p align="right">[[File:btn_back_up.png|link=User Guide for Layton ServiceDesk]] [[User Guide for Layton ServiceDesk|<u>Back to Contents</u>]]</p> | ||
Latest revision as of 02:15, 23 July 2020
Contents |
[edit] Overview
Though commonly done as part of a new installation, a new database can be created at any time. Layton ServiceDesk will only connect to one at a time. Creating an additional database is mostly for testing purposes or to start again with a new, blank database.
[edit] Procedure
- Launch the Layton ServiceDesk Database Tool (C:\Program Files (x86)\Layton Technology\Layton ServiceDesk\DBTool\DBTool.exe), by opening the Windows Start menu > Layton Technology and right-clicking DBTool.exe and selecting More > Run as administrator.
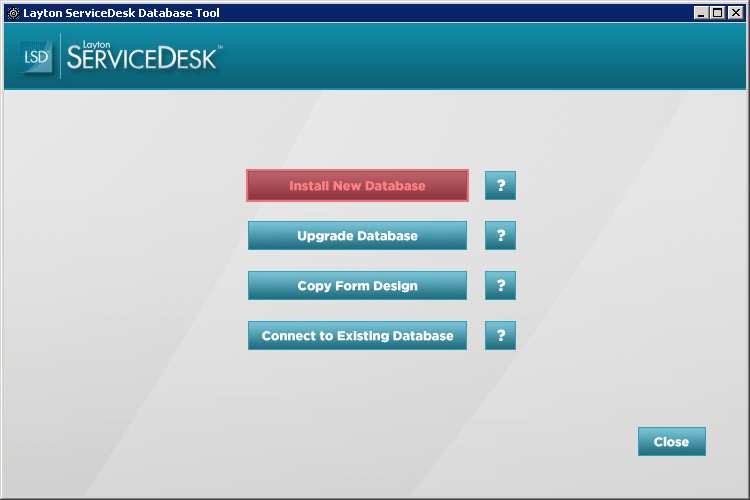
- Click Install New Database:
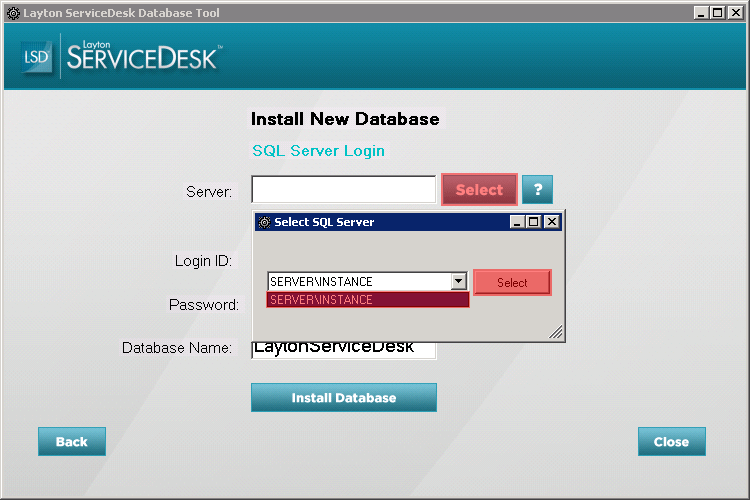
- Click the Select button next to the Server field. In the Select SQL Server dialog, select a SQL Server from the list, then click the Select button. This will populate the Server field in the main window.
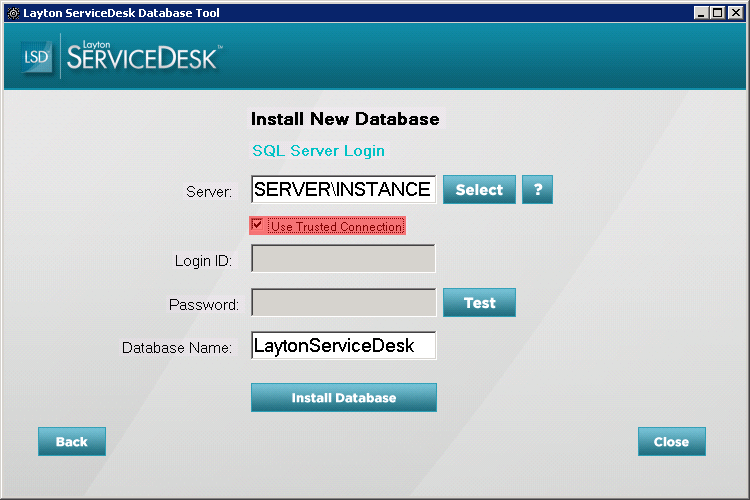
- Check the Use Trusted Connection checkbox. This will authenticate as the logged-in user. This user will need to have administrative permissions on the SQL Server to continue.
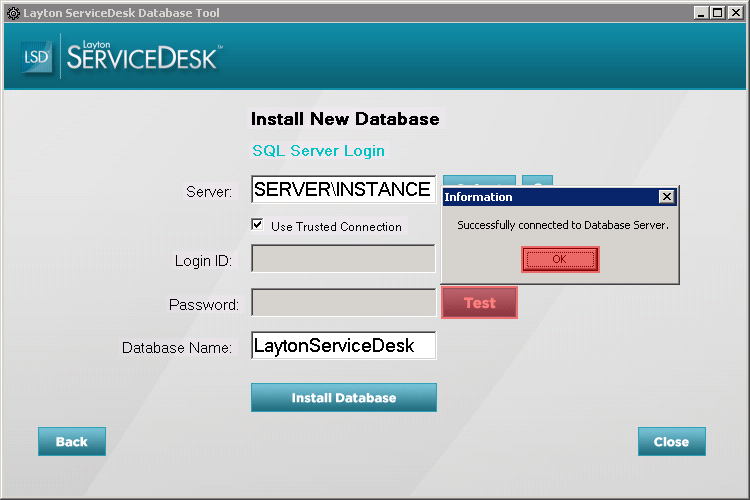
- Click the Test button to test the connection to the SQL Server with the provided details. If successful, a dialog will confirm:
- If not successful, uncheck the Use Trusted Connection checkbox and enter a SQL login ID such as sa:

- Click Test again:
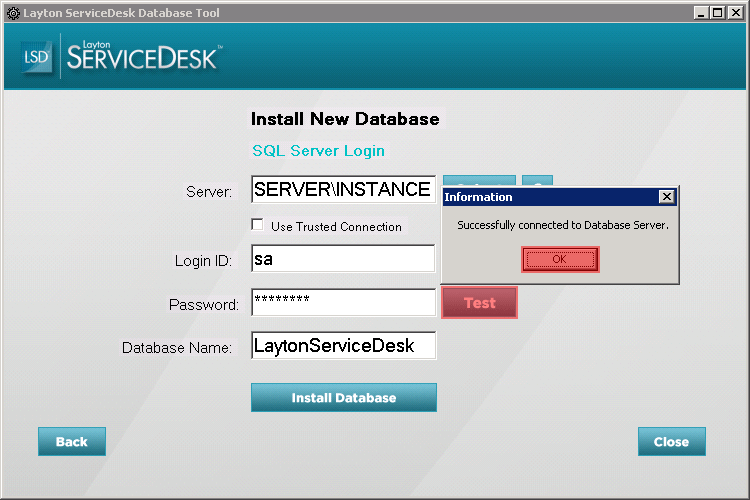
You may need to check authentication settings on the SQL Server. If you continue to have trouble, ask your SQL admin to debug the authentication issue.
The recommended database name LaytonServiceDesk is suggested. If you are creating an additional database and a database called LaytonServiceDesk already exists, enter a different name.
Click the Install Database button. Once complete, a dialog will confirm it: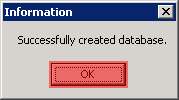
Click the OK button to dismiss the dialog and return to the installer. - Click the Close button to exit.
