Layton ServiceDesk - Installation - New Installation
Contents |
Installation
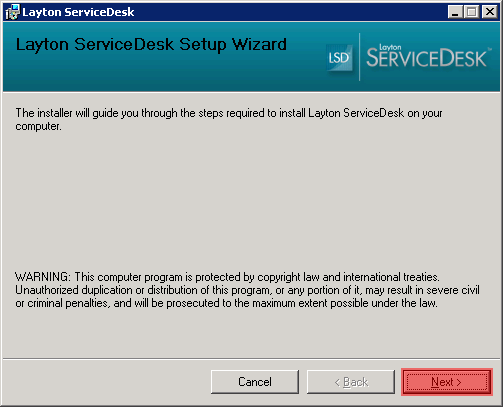
Run the MSI installation file. This will take you through the setup procedure for Layton ServiceDesk.
Note: You may need to stop your IIS Services first in order to get a successful installation. When installation is completed re-start all IIS Services.
Click Next:
Read the licence agreement and click I Agree, then Next:

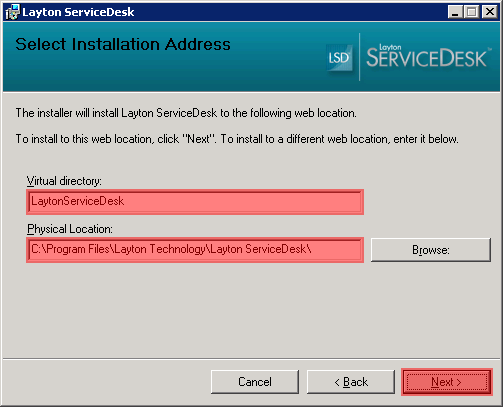
By default, a virtual directory called Layton ServiceDesk will be created under the Default Web Site in IIS. The application files will be installed in C:\Program Files\Layton Technology\Layton ServiceDesk\. Accept the defaults and click Next or make changes, then click Next.
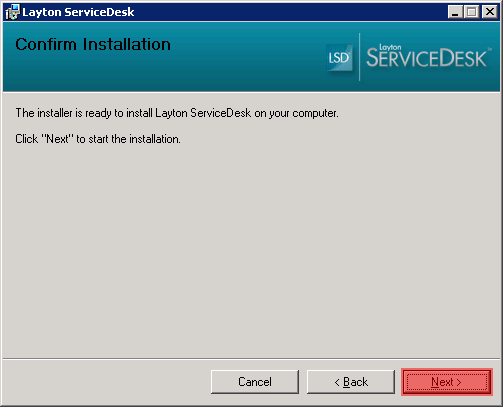
Click Next:
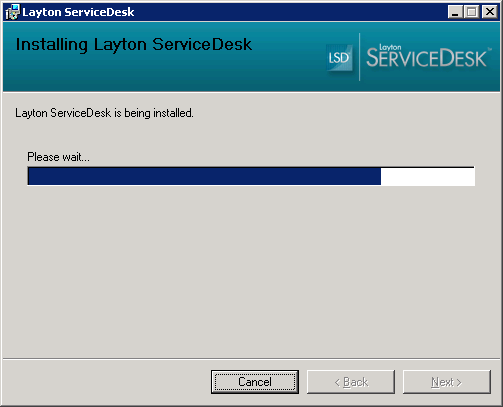
The installation will commence. When complete, click Next:
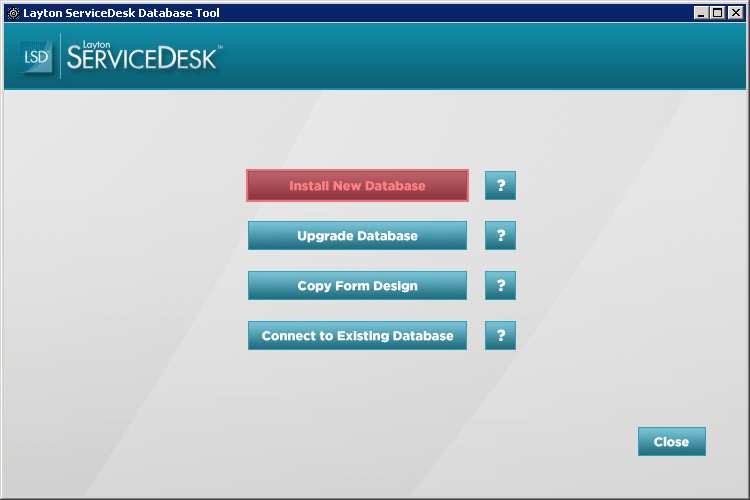
Database Creation
The Layton ServiceDesk Database Tool will launch. Click Install New Database:
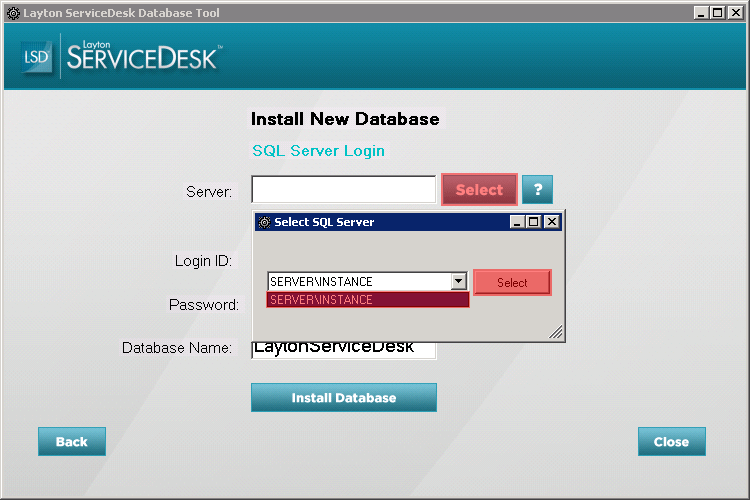
Click the Select button next to the Server field. In the Select SQL Server dialog, select a SQL Server from the list, then click the Select button. This will populate the Server field in the main window.
On First Launch
Sample Databases
When you first launch Layton ServiceDesk you will be prompted to install a sample database. We recommend you install it to enable you to get a feel for what the application can do.
In addition, there is a sample asset database that can be installed so you can see just how effective Layton ServiceDesk is at working with your IT assets.