AuditWizard - Using AuditWizard - Network View
m (Clarified text) |
m (Added link) |
||
| Line 189: | Line 189: | ||
===User-Defined Tabs=== | ===User-Defined Tabs=== | ||
| − | Any defined category in Administration > Data Setup > User-Defined Fields becomes a tab and contains any fields within that category. | + | Any defined category in '''[[AuditWizard™ - Using AuditWizard - Administration - Data Setup - User Defined Data|Administration > Data Setup > User-Defined Fields]]''' becomes a tab and contains any fields within that category. |
==Applications== | ==Applications== | ||
Revision as of 02:16, 12 June 2015
The Network View tab displays your assets, grouped by location or domain.
Contents |
Ribbon Commands

Audit
The following options relate to functionality involved in the auditing of network computers.
Upload Audits
This option will display the Upload Audits dialog from where the results of audits can be uploaded into the main database. In most cases this option will not be required as the AuditWizard Service will automatically upload the audit results as and when they become available.
Audit Now
This option will flag the computer selected to be audited immediately irrespective of any minimum re-audit interval specified. This option is only applicable where the Audit Agent has been deployed and is active on the selected computer(s).
Operations Log
Displays the Operations Log dialog which gives information on the progress of requested operations.
View
These options will affect the way in which computers are displayed within AuditWizard.
Locations View
Displays a list of locations, configured by the user, with the assets in those locations.
Domain View
Displays a list of domains, taken from audits, with the assets in those locations.
Show Assets Based on Stock Status
AuditWizard provides four statuses to indicate whether an asset is Stock (still valuable and potentially to be used), In Use (currently being used, the most common status), Pending Disposal (marked for disposal but still on hand) and Disposed (has been disposed and no longer in possession). These checkboxes can filter assets based on any of these statuses independently.
Filters
These options allow the data being displayed to be filtered to zoom in on the Publishers or Applications which are of most interest.
Export
Use the buttons to export the current data set to PDF, Excel or Microsoft XPS formats.
Search Database
This button will open a dialog where you can specify a number of criteria to search the complete list of assets.
Assets Pane
The left-hand pane contains the names of all assets. By expanding a node, you will be able to see a summary for the computer and also a list of the applications which have been discovered on that computer.
Installed Applications
By selecting the Applications branch beneath a computer for which an Audit has already been performed, you will see a list of the applications that were discovered. Depending on the number of publishers defined within the publisher filter, you may find it useful to group the list by Publisher. To do this, drag the header for the Publisher column into the Group By box which appears at the top of the list above the column headers. Additional columns can be added to the grouping in a similar manner; simply drag the column header into the group by area of the list.
Each entry in the list relates to a single instance of an application discovered on the computer. In some cases you may see a serial number and/or a CD Key which have been recovered for the application. AuditWizard is able to recover serial numbers and/or CD Keys for specific applications where the serial number is defined either within the Add/Remove Programs section of the Windows Registry or its location in the Windows system registry has been pre-defined. AuditWizard ships with many of the more popular applications already configured with their serial number registry location however it is possible to add additional mappings using the functionality in the Administration tab.
Managing Assets
Deleting Assets
Select an asset or assets, right-click and select Delete Asset(s). The assets and associated data will be deleted from the database. Be careful with this as the action is not reversable.
Asset Operations
Re-locate by IP Address
If you have assigned IP ranges to your locations, this will file the asset based on its IP address.
Remote Desktop
Invokes a remote-desktop session with the computer.
Assigning Stock Statuses
Select an asset or assets, right-click and select Status > STATUS. Any of four statuses can be assigned to assets to enable rapid filtering and to control licence consumption. These are the statuses:
| Icon | Name | Description |
|---|---|---|
| In Stock | Held in reserve, not currently being used. Useful, not to be disposed of. These assets consume a licence. | |
| In Use | Being actively used on the network. These assets consume a licence. | |
| Pending Disposal | Marked for disposal but still on hand. These assets still consume a licence. | |
| Disposed | Has been removed from the organisation. Disposed assets will be removed from the count of licences in use. |
The licence count can be viewed in the AuditWizard Licensing section of the Dashboard.
Deploying and Controlling the AuditWizard Agent
Deployment and control of the AuditWizard Agent is managed in the AuditWizard application. It is a Windows system service which must be deployed to each computer that you want to audit via that method.
Typically, a Network Discovery operation will be done prior to deployment of the Agent. You need to have the computer names in order to have computers to deploy to. Secondarily, a computer audited via the Scanner can be deployed to.
The current status of each computer is shown by the icon being displayed for that computer as follows:
| Icon | Description |
|---|---|
| This computer has not been audited. | |
| This computer has been audited. The Agent is not deployed. | |
| The Agent has been deployed to this computer and is running. | |
| The Agent has been deployed to this computer and is stopped. |
The current status is not however guaranteed as it may have changed since the last update. It is recommended that you update the status by right-clicking and selecting Check Status before performing any Agent operations.
The following Agent functions may be performed by right-clicking one or more domains and/or computers in the Network View, then selecting from the following options (note that inapplicable options based on whether the Agent is running or not will be greyed out):
| Option | Description |
|---|---|
| Deploy > Agent configuration name | When deploying the Agent to the specified computers, AuditWizard will need to connect to the Administrative share on the remote computer and copy over the Agent executable and its configuration files. Once the necessary files have been copied to the remote computer, AuditWizard will install and then start the Agent service. |
| Update Configuration > Agent configuration name | After changing the settings for the Agent, send those updated settings to the computer(s) using this command. Note that this does not update the Agent service, only the settings. |
| Start | Start the Agent on the specified computer(s). |
| Stop | This will stop the Agent service. |
| Remove | Remove the Agent service. |
| Check Status | Check to confirm the current installed and operational state of the service. |
| View Log File | View log file of the Agent that is stored on the client computer. |
| Clear Log File | Clear client log file. |
| Audit Now | Force an audit. |
Details Pane
Asset Summary
When an asset is selected in the left-hand pane, its details will be displayed in the right-hand pane. The details available are:
Summary
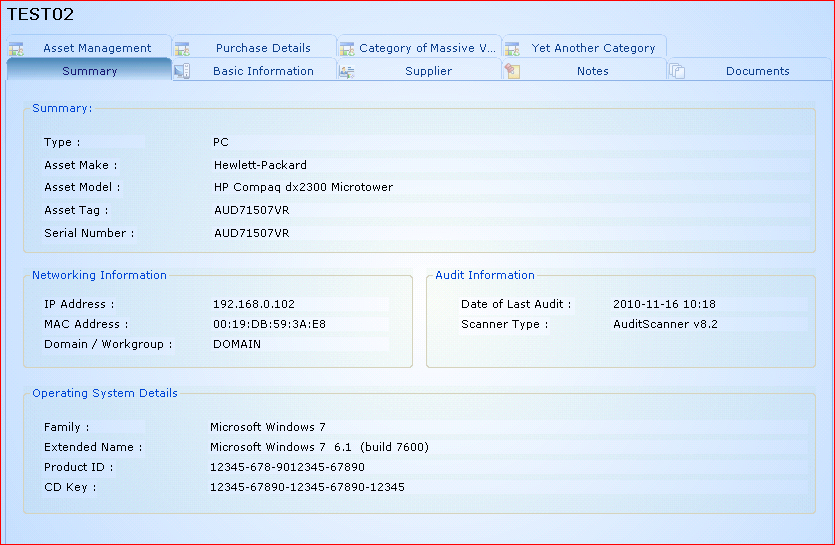
The Summary for a computer gives an overview of the computer including its make and model, what Operating System it is running and basic network details. In this tab you can also see the date at which the Computer was last audited.
Basic Information
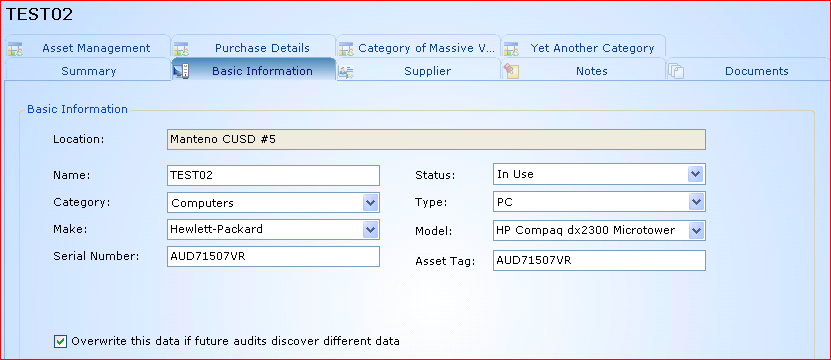
Similar to the Summary tab, this tab presents the fields for editing if necessary. The Overwrite this data if future audits discover different data checkbox can be unchecked to prevent manually changed data from being overwritten with data automatically collected on subsequent audits.
Supplier
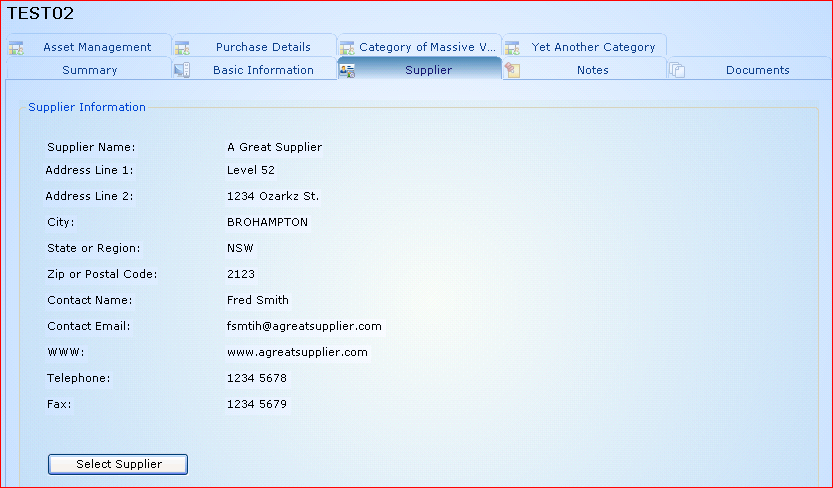
A supplier from the list created in Administration can be selected.
Notes
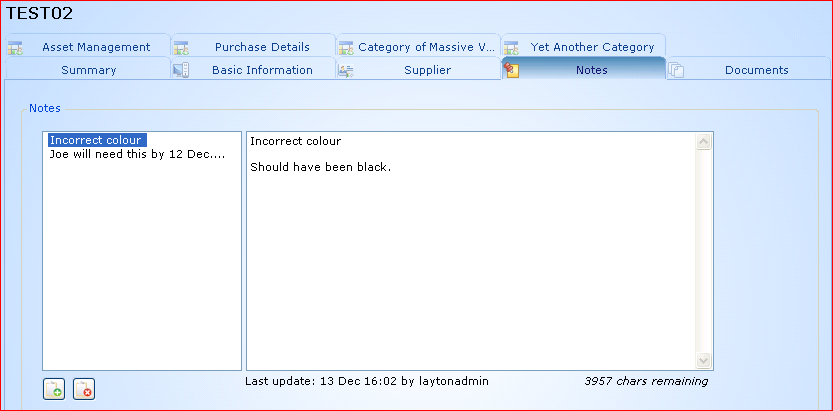
Any number of free-form text notes can be attached to the asset.
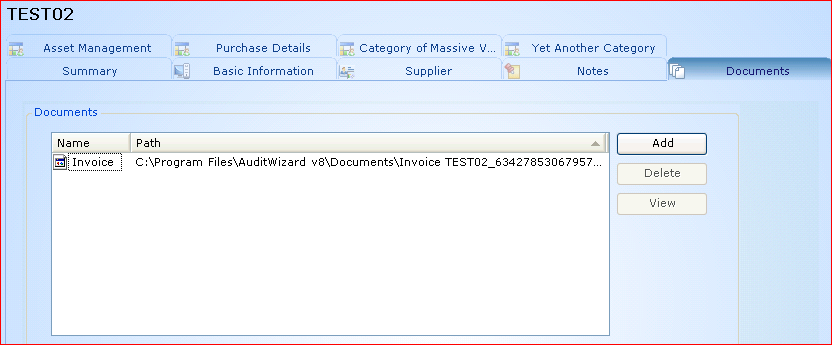
Documents
External documents can be associated with an asset and can be copied into the AuditWizard program folder or left in place. This is useful for attaching invoices and other documents relating to ownership or rental agreements.
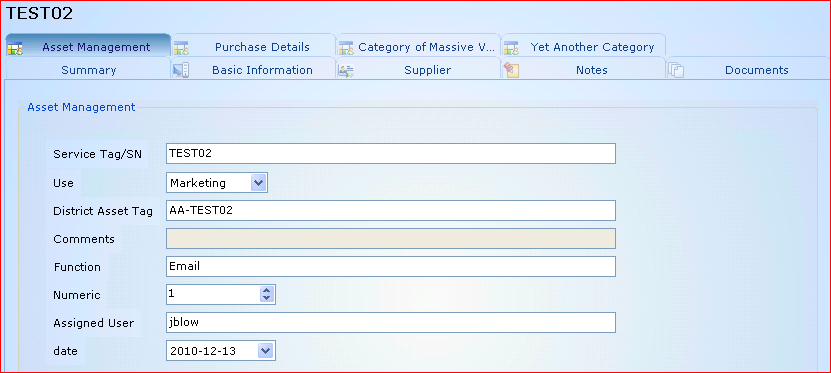
Asset Management
With every new database, a suggested range of common asset-management fields is supplied for tracking when an asset was purchased and who it is assigned to. The fields can be added to or modified in Administration > Data Setup > User-Defined Fields.
Note that the Assigned User field is intended for the user who has been allocated the asset for their use. This is not the same as the user who was logged in at the time of audit.
User-Defined Tabs
Any defined category in Administration > Data Setup > User-Defined Fields becomes a tab and contains any fields within that category.
Applications
Expanding a computer asset and selecting the Applications branch will list the software applications discovered on that computer. Note that the list of applications displayed will be filtered according to the Publisher filter specified as well as the current setting for View Ignored Applications and may therefore display far fewer applications than you might expect.
By filtering the list to only include those applications which have been determined to require a paid license, the task of the administrator is greatly reduced as they can quickly zoom in on those applications which are of importance with regards to their licensing. To see a complete list of installed applications, clear any publisher filter by clicking the Publisher Filter button and ensure that the filters are set to view both included and ignored applications.
You may also display the full properties of a specific application instance by double clicking it within the right hand panel list view. A Properties dialog will open. If during the software discovery process the serial number and/or CD Key for the application was not discovered automatically, you may enter it here. You can also modify a discovered value, however this is not recommended as it could lead to inaccuracies in the audited data. You may also add notes for this instance such as from where the application came and associate a document. Click OK to save any changes made.
Next: Application Licensing.
