AuditWizard - Using AuditWizard - Administration - Data Setup - Location Structure
From Layton Support
(Difference between revisions)
(Major revision) |
(Major revision) |
||
| Line 9: | Line 9: | ||
=Adding a New Location= | =Adding a New Location= | ||
| − | # | + | #There are two methods of starting the process: |
| − | ##Select the location's desired parent location, then click ''Add Location'' on the ''Locations'' ribbon menu.<br /><p>[[File:Aw admin data loc 02.png|link=]]</p> | + | ##Method 1: Select the location's desired parent location, then click the ''Add Location'' button on the ''Locations'' ribbon menu.<br /><p>[[File:Aw admin data loc 02.png|link=]]</p> |
| − | #Method 2: | + | ##Method 2: Right-click the desired parent location and select ''New Location'' from the menu.<br /><p>[[File:Aw admin data loc 03.png|link=]]</p> |
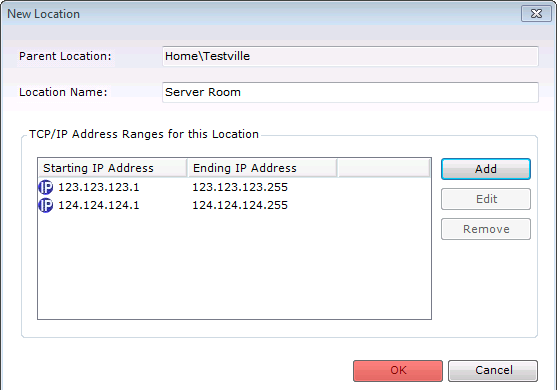
| − | + | #The New Location dialog will open. The name and path of the parent level will be displayed in the ''Parent Location'' field.<br /><p>[[File:Aw admin data loc 04.png|link=]]</p> | |
| − | #The New Location dialog will open.<br /><p>[[File: | + | #Enter a name in the ''Location Name'' field. The names at the same level must be unique; however this is not necessary within different branches of the tree. For example, ''London'' may have ''Marketing Department'' and so may ''Tampa''. |
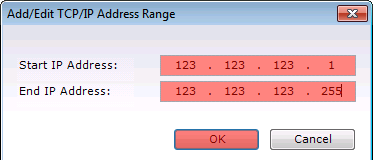
| − | # | + | #Optional: One or more ranges of IP addresses can be specified for the location. By associating IP addresses with a location, AuditWizard can automatically relocate a newly audited asset to the appropriate location based on its IP address. |
| − | # | + | ##Click the Add button. The ''Add/Edit TCP/IP Address Range'' dialog will open. |
| − | + | ##Enter start and end IP addresses and click the OK button. Note that multiple IP ranges can be set.<br /><p>[[File:Aw admin data loc 05.png|link=]]</p> | |
| − | + | #To save the new location, click the OK button in the ''New Location'' dialog.<br /><p>[[File:Aw admin data loc 06.png|link=]]</p> | |
| − | + | ||
| − | + | ||
<p align="right">[[File:btn_back_up.png|link=User Guide for AuditWizard]] [[User Guide for AuditWizard|<u>Back to Contents</u>]]</p> | <p align="right">[[File:btn_back_up.png|link=User Guide for AuditWizard]] [[User Guide for AuditWizard|<u>Back to Contents</u>]]</p> | ||
Revision as of 23:15, 10 March 2016
Contents |
Overview
AuditWizard can organize the assets on your network either by the domains of which they are a member or using a user defined location structure to more accurately reflect the topography of your organization.
The user defined location structure consists of a multi-level tree with an unlimited number of nodes with a maximum depth of 10 allowing even the most complex organizational structures to be modelled.
Adding a New Location
- There are two methods of starting the process:
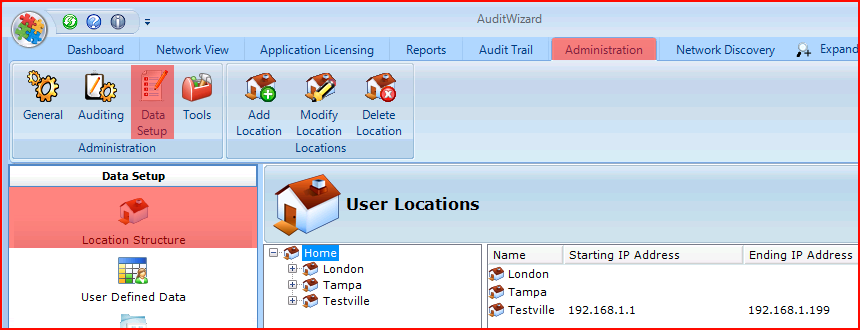
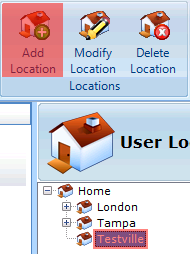
- Method 1: Select the location's desired parent location, then click the Add Location button on the Locations ribbon menu.
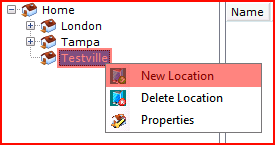
- Method 2: Right-click the desired parent location and select New Location from the menu.
- Method 1: Select the location's desired parent location, then click the Add Location button on the Locations ribbon menu.
- The New Location dialog will open. The name and path of the parent level will be displayed in the Parent Location field.
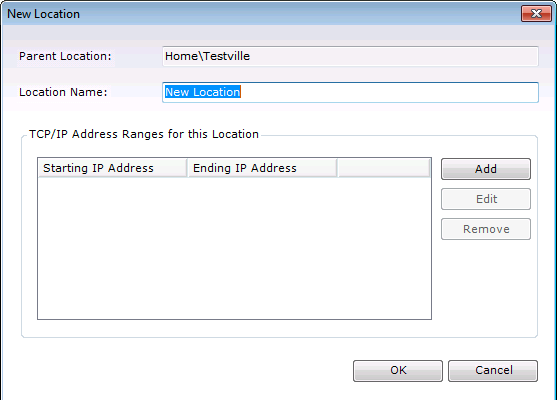
- Enter a name in the Location Name field. The names at the same level must be unique; however this is not necessary within different branches of the tree. For example, London may have Marketing Department and so may Tampa.
- Optional: One or more ranges of IP addresses can be specified for the location. By associating IP addresses with a location, AuditWizard can automatically relocate a newly audited asset to the appropriate location based on its IP address.
- Click the Add button. The Add/Edit TCP/IP Address Range dialog will open.
- Enter start and end IP addresses and click the OK button. Note that multiple IP ranges can be set.
- To save the new location, click the OK button in the New Location dialog.