AuditWizard - Getting Started - Setup Wizard
From Layton Support
(Redirected from AuditWizard™ - Getting Started - Setup Wizard)
![]() Previous article in this series: Activation
Previous article in this series: Activation
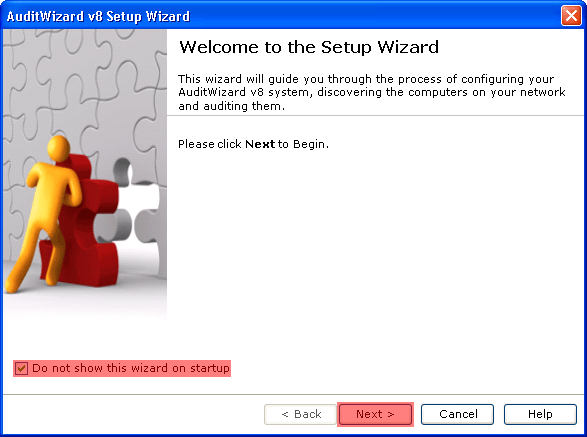
The Setup Wizard automatically opens on first launch. It is recommended that you check the Do no show this wizard on startup checkbox, otherwise it will open every time you launch AuditWizard. It can be run at any time by clicking the Run Setup Wizard button in the ribbon in the Dashboard.
- Click Next to begin.
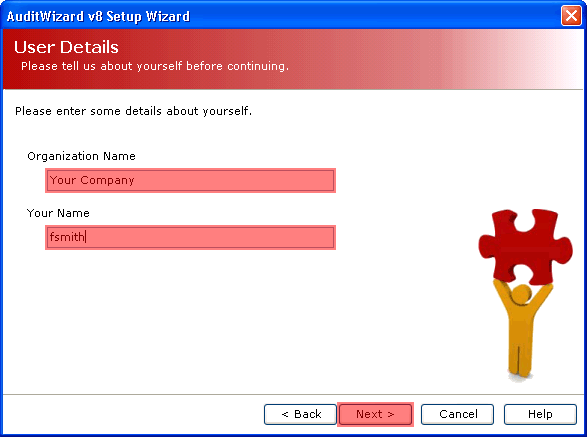
- Enter your company name and your name. These are used internally in AuditWizard and are not related to your registration details.
- It is a good idea to audit your own computer at this point so that there is some data to work with when the wizard is finished. Click the Audit My PC button.

- The audit will finish after a few seconds. Click Next.

- Click the Discover Assets button to discover the assets on the same network as this computer. This is a quick way to populate your database with asset names.
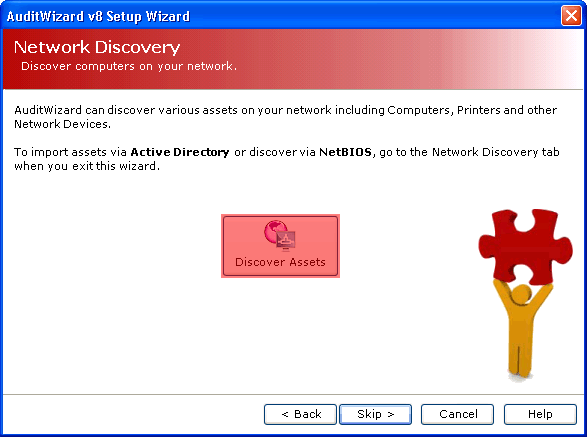
- The discovery will finish after a few seconds. Click Next.

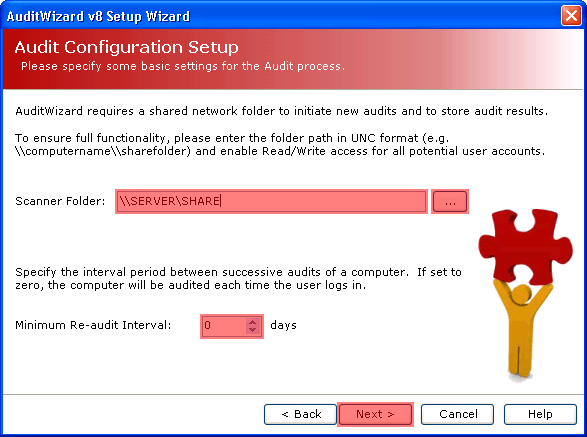
- Enter your network share name in the format \\SERVER\SHARE in the Scanner Folder field, or click the browse button next to the field to browse for it.
The default Minimum Re-audit Interval is 0 days. This means the Scanner will audit the computer every time it runs. You can change this if you want it to run less frequently.
Click Next.
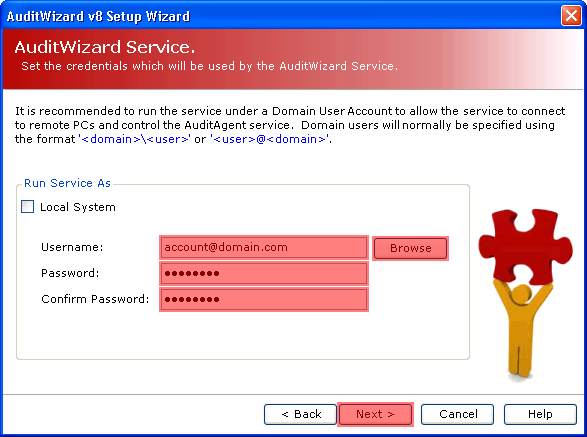
- Enter the details of the account to use with the AuditWizard Service, or Browse to find it. It should have these permissions. Click Next.
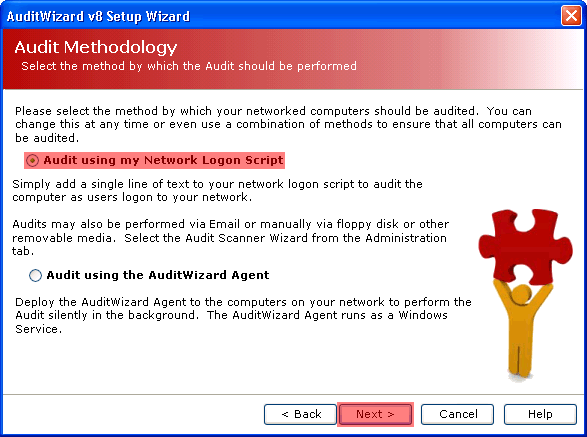
- Most users will use the Scanner method, even in conjunction with the Agent method. Click the Audit using my Network Login Script radio button. Click Next.
- Copy the appropriate line of code for either Windows or Novell and paste it into your login script on the server. Click Next.

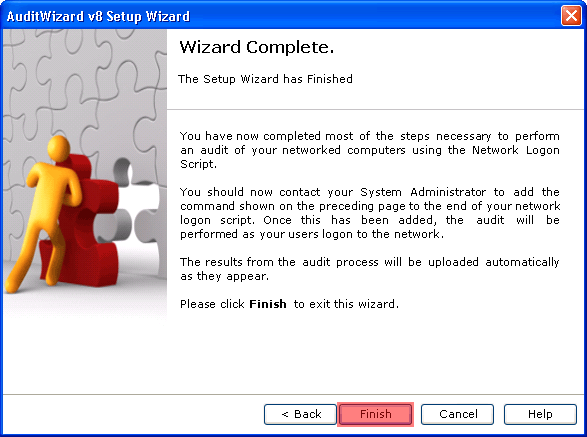
- Click Finish to close the wizard.